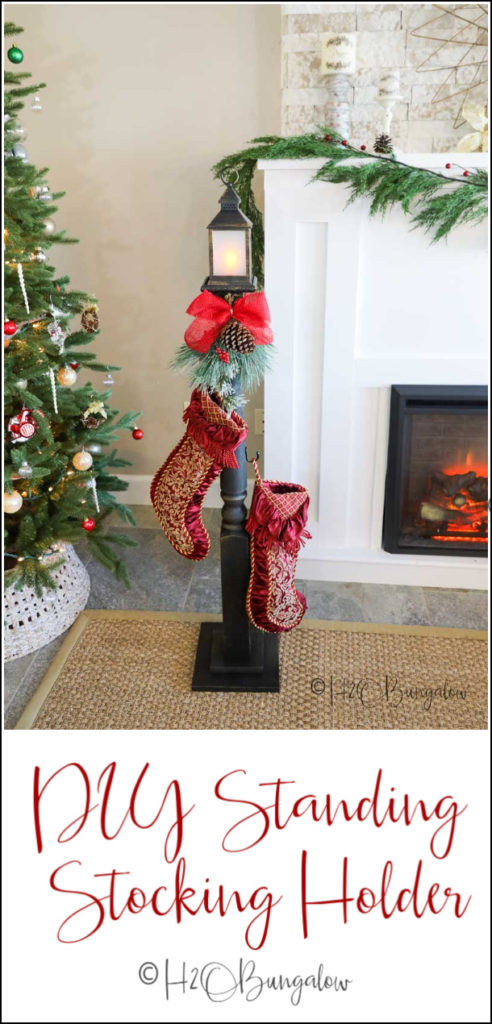
Today I’m sharing how to make a DIY standing stocking holder stand that looks like a vintage street light with a lantern. The whole thing started when I decided I didn’t want to hang my stockings on the fireplace this year. I needed a way to hang Christmas stockings without a fireplace mantle. I’m going to show you how to make a free standing stocking holder that is so pretty you’ll hate to put it up after the season!
Living in a small house sometimes brings challenges beyond ways to hand Christmas stockings. You might also find a few holiday decor ideas in my Christmas Home Tour from a few years ago. One of my all-time favorite ways to make easy holiday decor is How to Add Words to Candles.

Sending out a big thank you to HomeRight for sponsoring this post. I also use affiliate links, as an Amazon Associate I earn from qualifying purchases.
How to Make a DIY Standing Stocking Holder
Supplies:
Step 1. Cut base, top and newel post.
Cut the plywood squares. Cut one 10 “ and one 16” square from the ¾” plywood. Next, cut one 4 ½’ square from the ½” plywood.
If you are using a 4 x 4” post, cut it to the height you’d like the standing stocking holder.
If you’re using a newel post like I did, cut the top ball off with a miter saw. Next drill a 5/8” hole in the post all the way through near the top. It’s much easier if you clamp the newel post like I did in my work table.
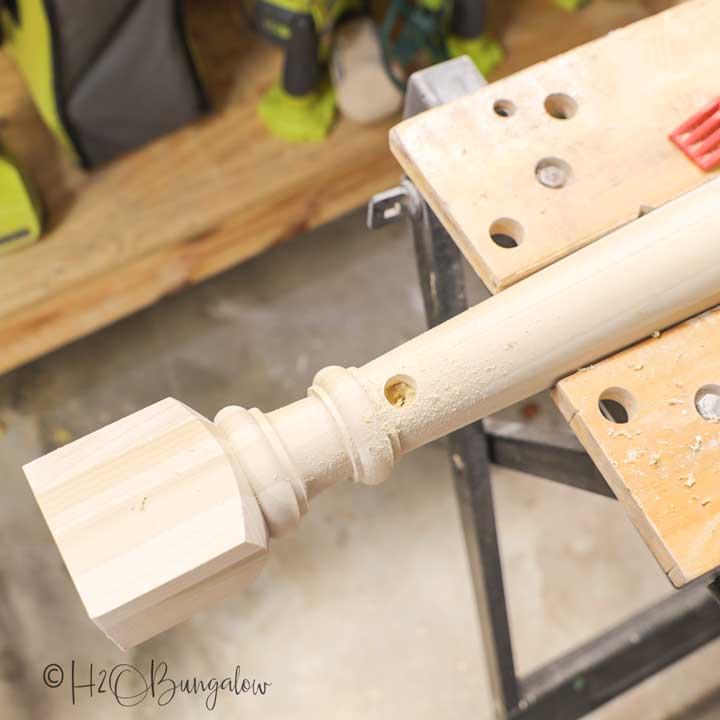

Step 2. Cut top platform trim.
Set miter saw to 45 angle and cut the frame for the top platform. Mine were 4 ½” in length from the inside corner measurement since my plywood piece was 4 1/2 inches.
Step 3. Assemble the base.
Center and glue the 6” square on to the 10” base. Allow the glue to dry.
Turn over and drill 4 countersink pilot holes in the center to attach the base to the newel post. Attach the base with 2 1/2″ screws.
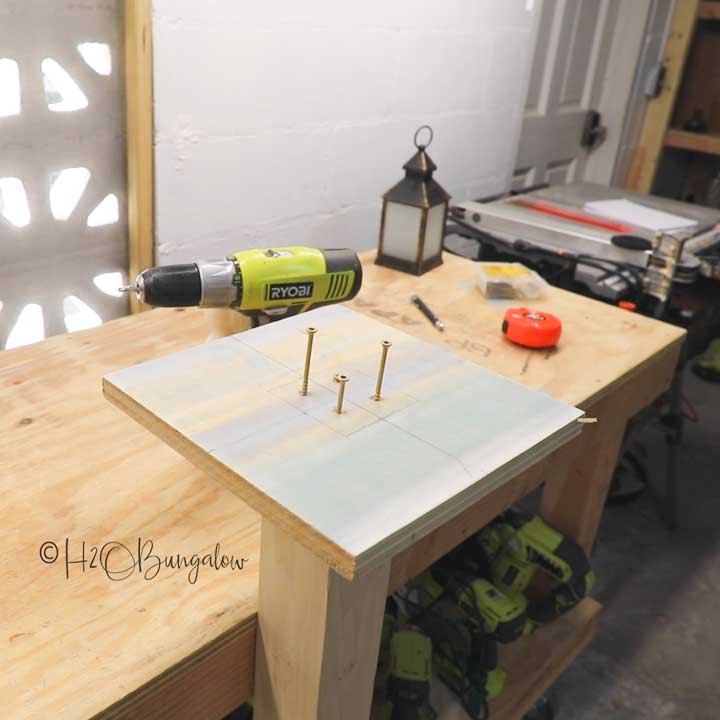

Step 4. Assemble top.
Use wood glue and attach the frame to the top platform edges. Rest it on a flat surface when positioning the trim so the trim is flush to the bottom and creates a lip about ¼” high. This will hold your lantern in place.
Last, you’ll slide the dowel into the 5/8″ hole and center it. This will hang the two top Christmas stockings.
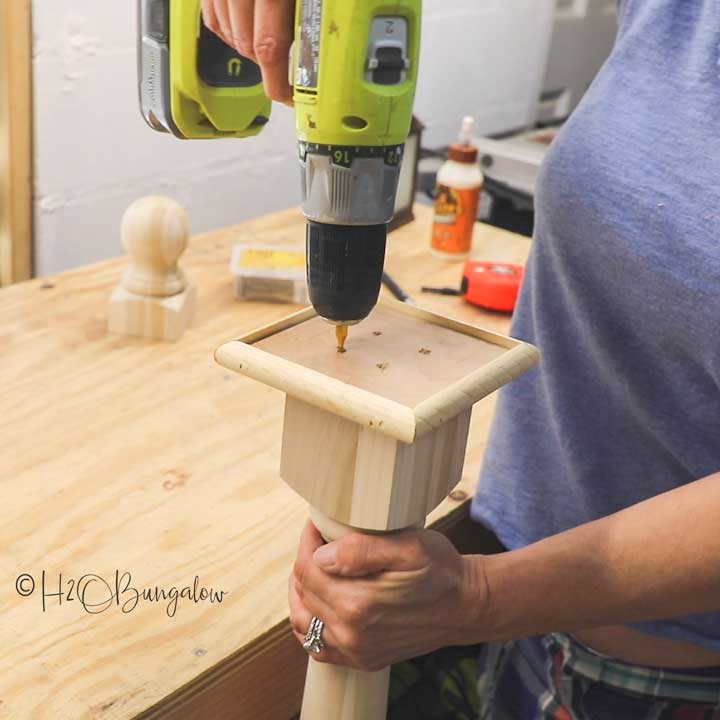

Optional: When the glue is dry add a few ½’ brad nails around the trim to secure
Step 5. Paint the DIY stocking holder stand.
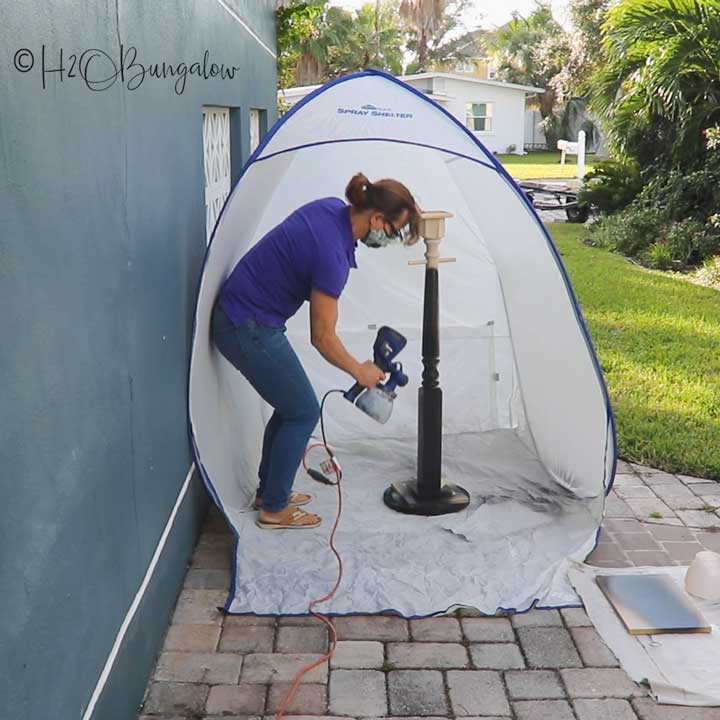
I used my HomeRight Super Finish Max paint sprayer and with blue spray tip for this project. Because the paint was as thick as pudding I thinned it down quite a bit with water until it was the consistency of chocolate milk.
Don’t forget to use eye protection and a respirator.
Tip: I always have an extra HomeRight container filled with water so I can run clean water through when I’m done. It makes cleanup even easier.


Painting the standing stocking holder was a breeze. I used my medium HomeRight Paint Shelter which protected my stocking holder while I was painting and there was no overspray to worry about cleaning up.
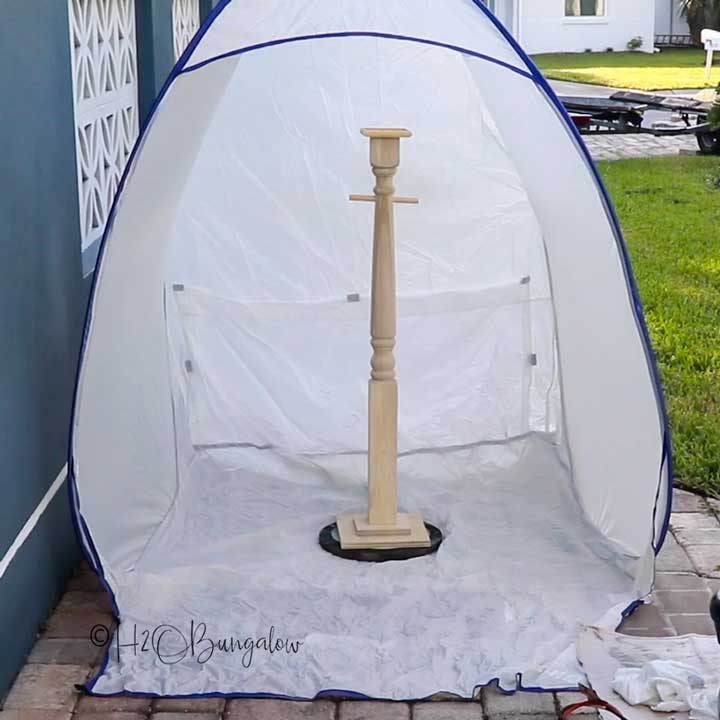

Tip: Use a lazy-Susan when painting. It made it easy to get an even coat of paint by turning it from the top while applying paint.
Apply the paint in even sweeping motions up and down along the DIY stocking holder. Allow it to dry before moving it.

Step 7. Add hooks and faux greenery to the stocking stand.
Last, you’ll add a hook on each side of the post about a third down so the standing Christmas stocking holder will hold add two more stockings. Test the height of your stockings before you attach them to be sure they hang freely. Tie a spray of faux Christmas greenery at the top and add a bow or whatever you’d like.
Place the lantern on top and turn it on. I found this lantern with an LED flickering light that looks like a vintage gas lantern. It’s perfect!
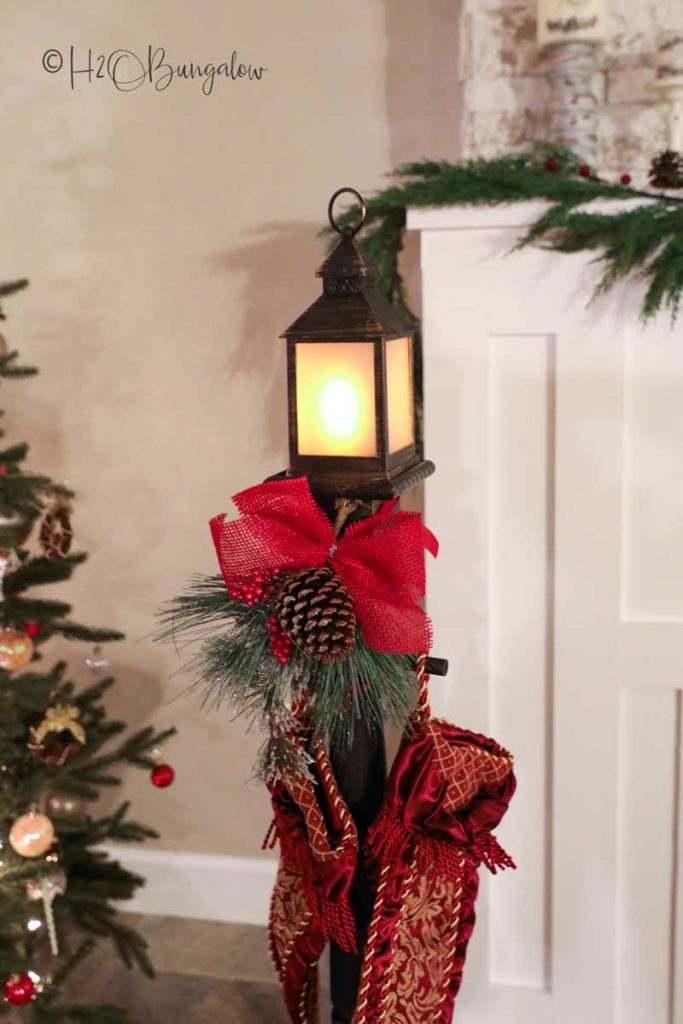

Isn’t this is a fun way to hang Christmas stockings?
Pin my DIY stocking holder stand for later and share with your friends on Facebook!


I like this DIY standing stocking holder better than hanging the stockings on the fireplace mantle.
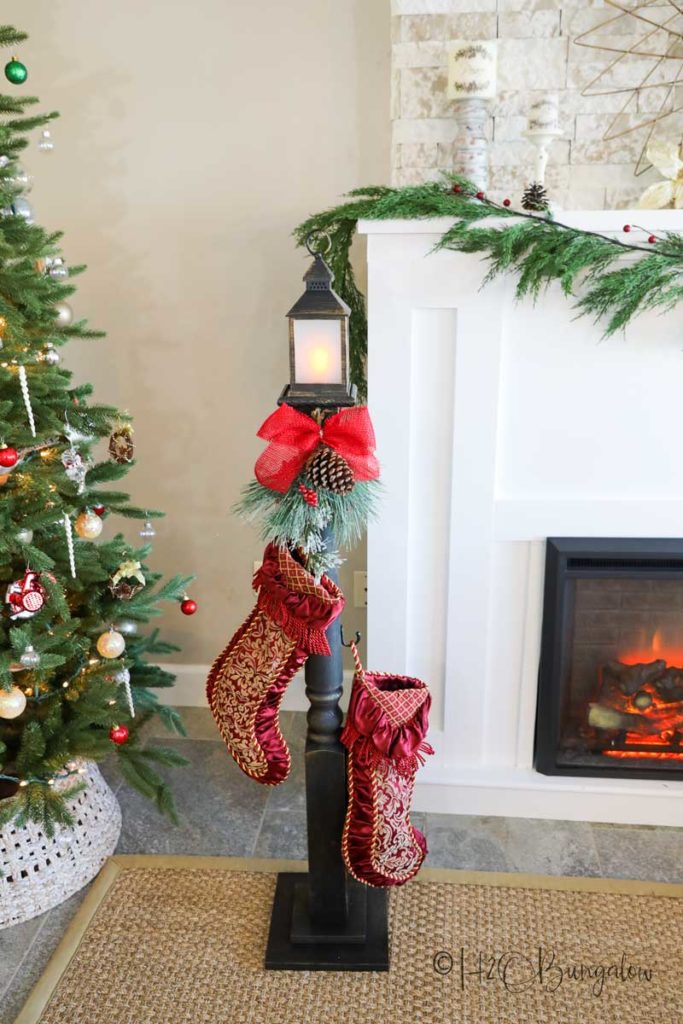

Don’t you love the way this turned out?
Plus the lantern can be used year round since it’s not attached to the standing stocking holder so I get twice the use out of it!
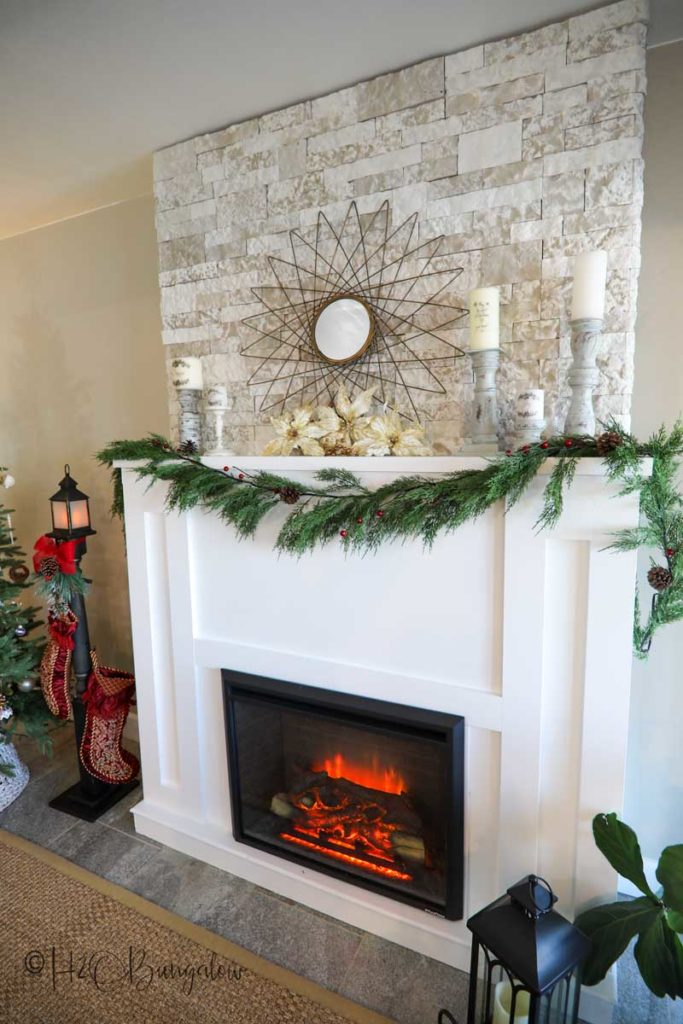

It’s beautiful with the fireplace.


I use my HomeRight Super Finish Max paint sprayer and Paint Shelters all the time.


Yield: 1 stocking holder
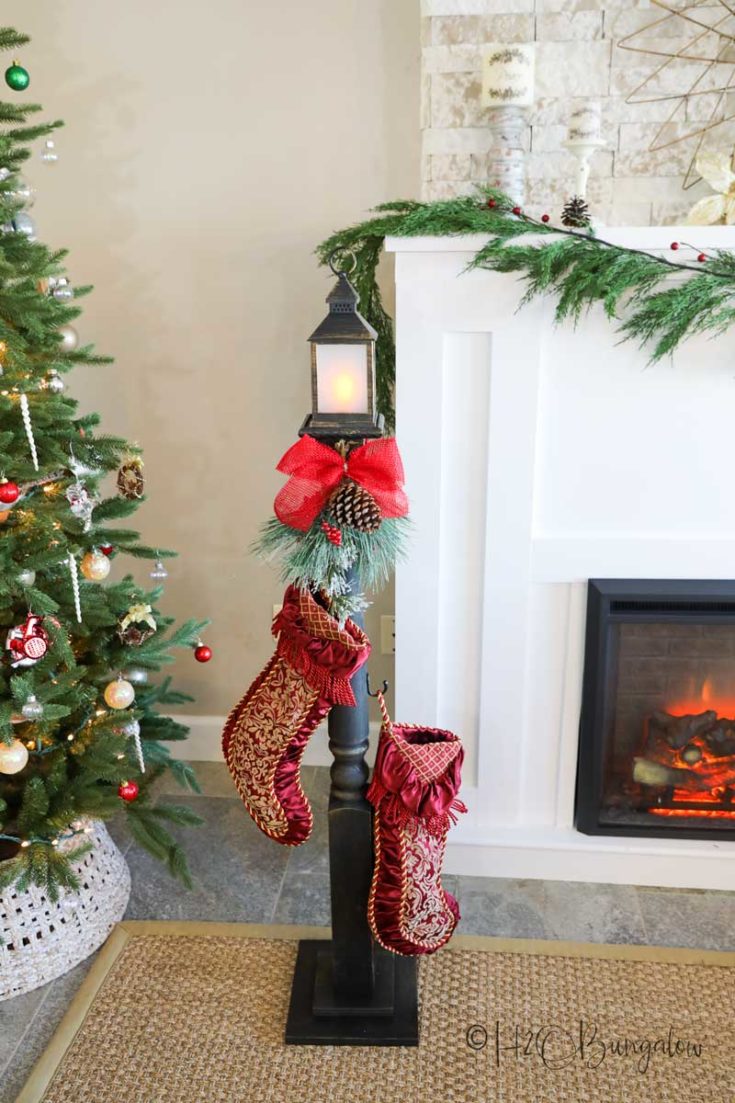

Make this DIY standing Christmas stocking holder. This is a great way to hang stockings when you don’t have a fireplace mantle to hang them on.
Materials
- Newel post
- ¾” plywood, 10”square, 6” square
- ½”plywood, 4 ½ inch square
- 2 ft, 1” decorative trim molding 2 ft
- Wood dowel 5/8”
- Sand paper
- Black satin latex paint
- Solar lantern
- Faux greenery spray
-
Single hooks
- Screws 2-3”
Instructions
- Cut the plywood squares. Cut one 10 “ and one 16” square from the ¾” plywood. Next, cut one 4 ½’ square from the ½” plywood.
- If you are using a 4 x 4” post, cut it to the height you’d like the standing stocking holder.
If you’re using a newel post like I did, cut the top ball off with a miter saw. Next drill a 5/8” hole in the post all the way through near the top. It’s much easier if you clamp the newel post like I did in my work table.
- Set miter saw to 45 angle and cut the frame for the top platform. Mine were 4 ½” in length from the inside corner measurement since my plywood piece was 4 1/2 inches.
- Center and glue the 6” square on to the 10” base. Allow the glue to dry.
- Turn over and drill 4 countersink pilot holes in the center to attach the base to the newel post. Attach the base with 2 1/2″ screws.
- Use wood glue and attach the frame to the top platform edges. Rest it on a flat surface when positioning the trim so the trim is flush to the bottom and creates a lip about ¼” high. This will hold your lantern in place.
- Last, you’ll slide the dowel into the 5/8″ hole and center it. This will hang the two top Christmas stockings.
- Paint the DIY stocking holder stand HomeRight Super Finish Max paint sprayer and with blue spray tip. Because the paint was as thick as pudding I thinned it down quite a bit with water until it was the consistency of chocolate milk. Apply the paint in even sweeping motions up and down along the DIY stocking holder.
- Allow it to dry before moving it.
- Add a hook on each side of the post about a third down so the standing Christmas stocking holder will hold add two more stockings. Test the height of your stockings before you attach them to be sure they hang freely.
- Tie a spray of faux Christmas greenery at the top and add a bow or whatever you’d like.
- Place the lantern on top and turn it on.
