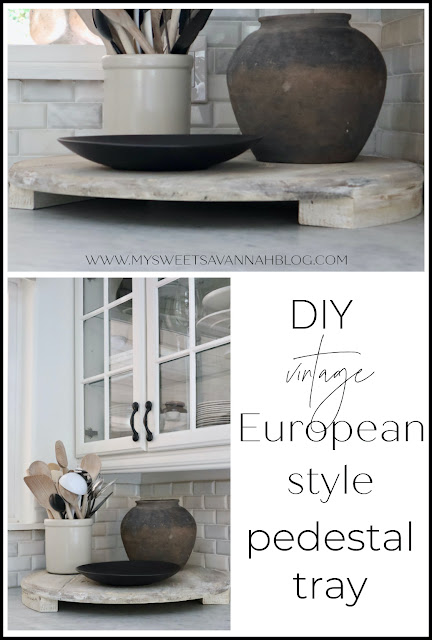
Happy Tuesday!
I have a super fun project for you today that will really make an impact in your home decor.
This DIY large serving board idea came to me while browsing the aisles at Home Depot one day.
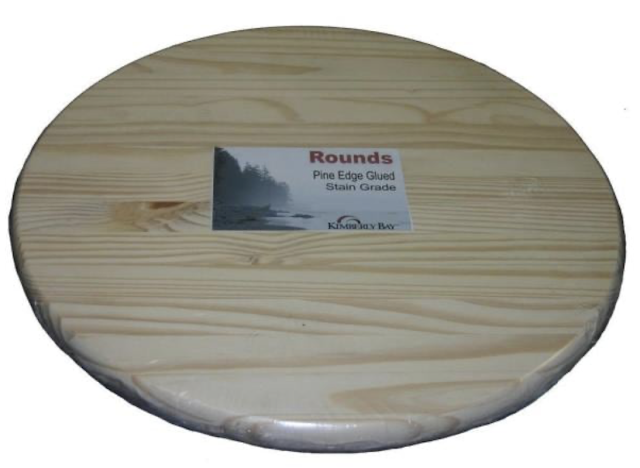
I saw this 2′ diameter wood round and it clicked that it would make the best tray/serving board.
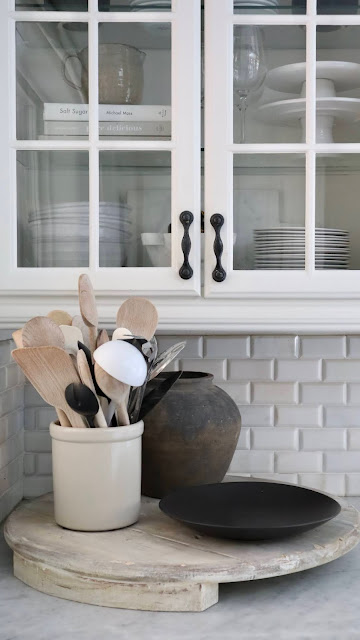
My inspiration came from this piece which I own and love.
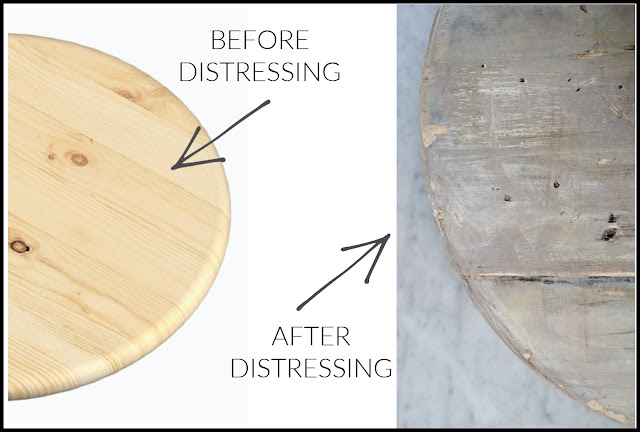
So then the trick was to make this brand new wood round look old.
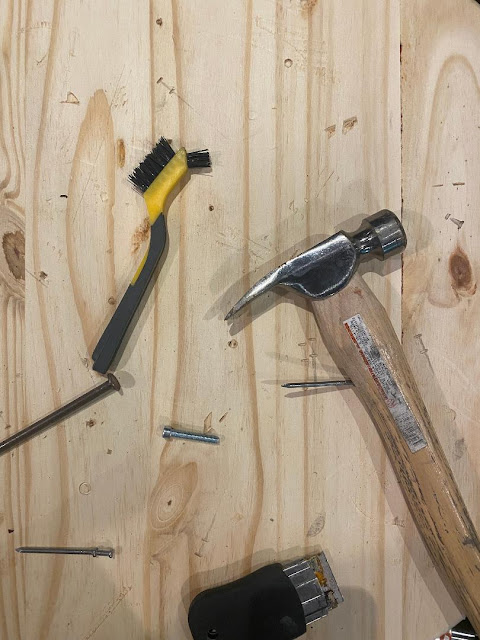
I broke out as many different tools as I could find and got going beating it up.
My tip to you would be this- you cannot overdue this step. Distress it by making nail holes, screw holes, hitting it with a hammer, beating it with a chain, digging out notches and grooves with a sharp object.
Just when you think it’s been beat up enough, do it some more.
After you think it’s been distressed quite a bit, it is time to add your base color.
You want this first coat to be dark, so opt for dark paint or preferably stain.
I ended up using the color called “Kona”
We are going to paint layers and layers onto this board, distressing it along the way so it looks like it’s been around forever.
When you do this dark color, be sure to get into all the little cracks and crevices made when you distressed.
Let dry.
At this point I held up my inspiration piece next to it and decided what colors would be helpful to achieve this aged/bleached look.
I took a picture of my inspiration board close up and then put it into Snap Your Colors to see what colors came back.
I had a creamy off white paint, a mushroom colored paint, and a grey paint.
I decided to add in the umber color and the goldish yellow color with little inexpensive bottles of craft store paint.
For the painting you just want to be random and layer, layer, layer.
Basically you are just adding in color after color, until you get your desired color/look.
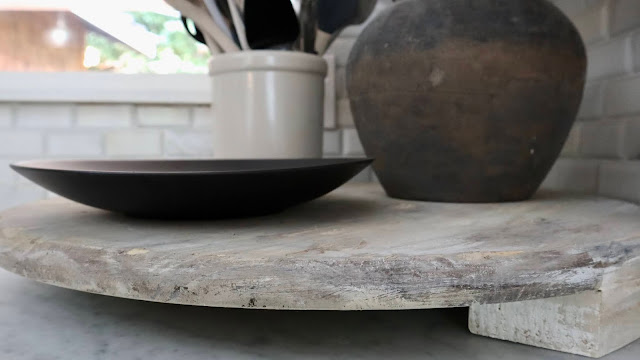
Since my inspiration piece almost looked like bleached wood or driftwood, I used a lot of off white paint watered down considerably.
You may choose to sand down inbetween coats of colors too. If you do this, use a coarse sandpaper and sand in random patterns until you are almost scratching up the surface. Anything that will help distress and age it, is key.
I left my project on the counter for 2 days, randomly adding in colors and sanding it where I felt necessary, until I got my desired color/texture.
I used plain wrapping paper and laid it out on my counter. Then I simply traced about 12″ long around the outside edge of the round to create the same edge.
Cut out your paper pattern and transfer pattern to a piece of wood, I used a 2×4.
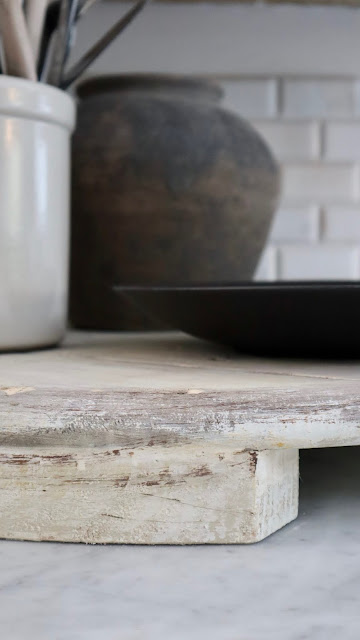
Once those are cut out {a jigsaw is handy here} you can distress them using the same method you used above to make the surface.
Then attach them using screws, nails, and or wood glue.
If you’d like to make the legs very seamless, you can fill the gap with spackle.
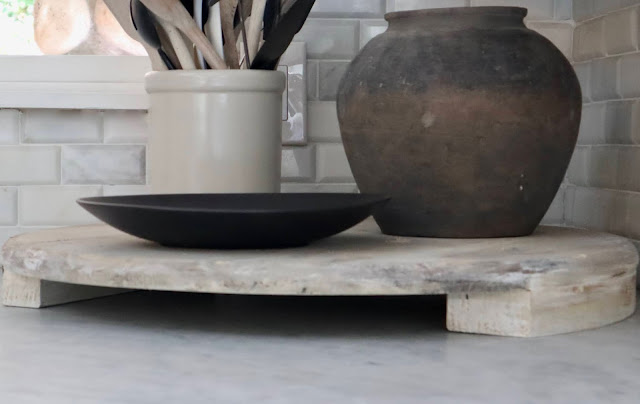
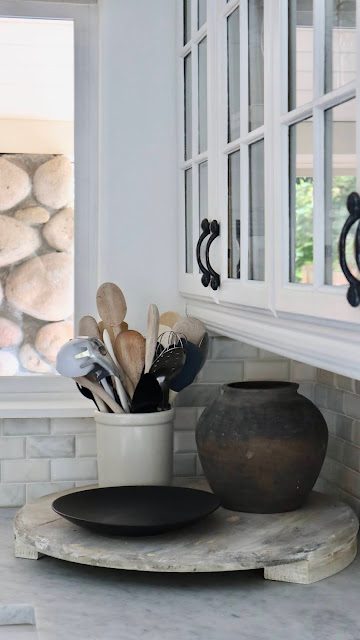
Are you ready to see the final product?
I am so excited to style this over the different seasons.
In fact, I want to make more!
The wood rounds come in many sizes, so you can make multiples.
xoxo, Melaine

