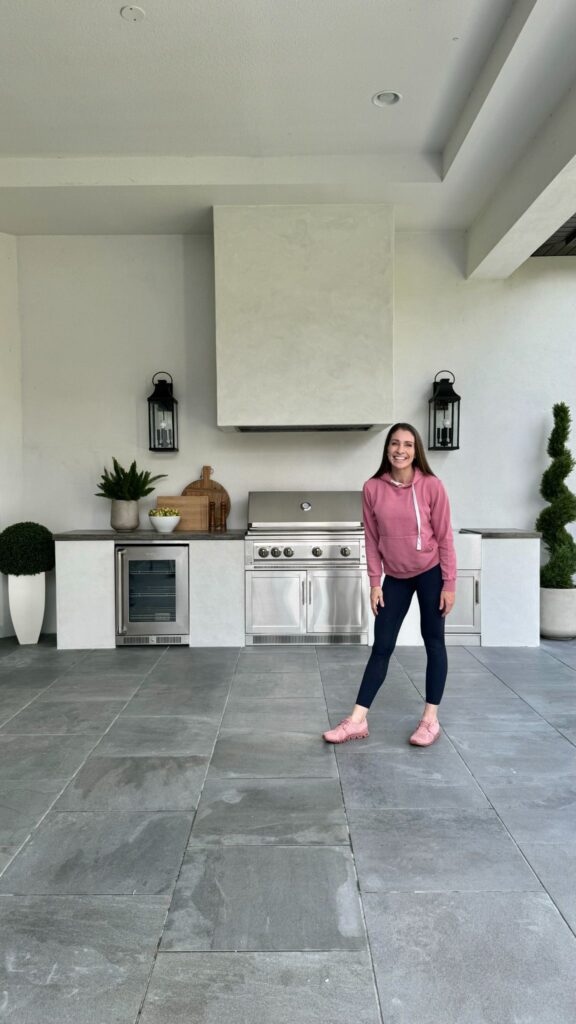
After completing the kitchen and stucco work, it was time to tackle the concrete countertops. I started by creating the concrete forms using melamine wood I had on hand, making three separate forms, one for each countertop section. I sealed the edges of the forms with clear caulk so the concrete doesn’t seep out the edges.


Mixing and pouring the concrete into the forms seemed straightforward at first, but after two unsuccessful attempts, my husband and I decided that renting a concrete mixer from Home Depot would be the best solution. It turned out to be a great decision for both of us HA! We decided that there wasn’t an exact science or recipe behind mixing it. You just need to add the mix and add enough water that makes it like pancake batter, better to have more water than not enough water, I quickly learned!
Once the concrete was poured Screeding occurred. This means taking a scrap board to smooth the concrete, level after it’s poured I anxiously awaited the drying process, checking the progress countless times over the next few days. The forms needed to stay in place for at least seven days.


After screeding the goal is to get out as many air bubbles as possible so i used some people used Vibrating palm sander. You vibrate the molds but I used a mallet and tapped everywhere around the molds.


Although the finished countertops had more air bubbles than I had hoped, I reminded myself that concrete naturally has imperfections. I used unsanded tile grout to float over the countertops and make the holes less noticeable and it made it a darker grey color. I sanded them down again, and the final step was to seal them with a food-safe sealer. I loved the result!

To watch the final outdoor kitchen reveal click here!
To shop my outdoor kitchen, simply click the links below!
FAQs: Concrete Countertops Edition
Q: What stucco did you use?
A: Countertop Mix by Quikrete, linked here!
Q: What consistency do you want the mix to be?
A: Soupy pancake.
Q: How thick did you make the countertops?
A: 1.75 inches, build the sides of your forms to the thickness that you desire.
Q: Do you have to use melamine for the forms?
A: Yes, because the smooth surface is what makes the concrete not stick.
Q: What would I do differently if I did it again?
A: Make sure my mixtures are thinner, it’s better for the concrete mixer to be soupier than thick. I would get an actual palm sander and vibrate the bubbles more.
